


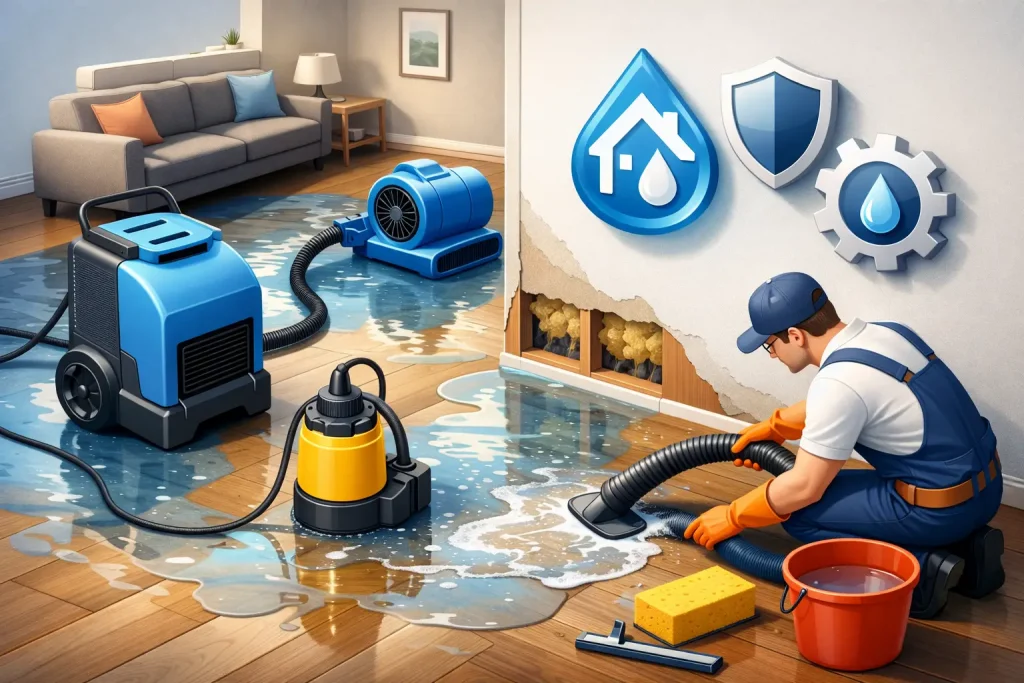
A broken supply line behind a wall, an overflowing toilet, or a basement flood can turn from a small problem into major construction work within hours. This water mitigation cleanup guide gives homeowners a clear plan for protecting the property, documenting the damage, and knowing when the job requires a professional crew. The first goal is not making the room look clean. It is stopping water, removing moisture, and preventing hidden damage that can affect framing, flooring, insulation, and air quality.
Start With Safety and Stop the Water Source
Before moving furniture or pulling up wet materials, make sure the area is safe to enter. If water is near electrical outlets, appliances, a breaker panel, or exposed wiring, stay out of the area until power can be shut off safely. Never walk through standing water if you cannot confirm that electricity is isolated.
Next, stop the source. Shut off the fixture valve for a toilet, sink, washing machine, or refrigerator line if that is where the leak began. For a larger plumbing failure, use the home’s main water shutoff valve. Homeowners should know where that valve is before an emergency happens, because every extra minute of running water raises the repair bill.
The type of water matters just as much as the amount. Clean water from a broken supply line is generally less hazardous than water from a backed-up drain, overflowing toilet, or outdoor flood. Water that may contain sewage, chemicals, or other contaminants should be treated as unsafe. Keep people and pets away, avoid handling porous materials, and bring in qualified help for proper cleanup and disposal.
Document Damage Before Cleanup Begins
Once the immediate danger is controlled, take clear photos and video of the affected rooms. Capture the water source, standing water, damaged walls, flooring, furniture, personal belongings, and any visible staining. If the leak came from an upstairs bathroom or an appliance, document that area too.
This record can help with an insurance claim and gives your contractor a more complete picture of what happened. Save receipts for emergency plumbing, water extraction, temporary lodging, dehumidifier rentals, and other necessary expenses. If you plan to file a claim, notify your insurance carrier early, but do not wait for an adjuster before taking reasonable steps to prevent additional damage.
Avoid throwing everything away immediately unless it creates a health or safety issue. Damaged materials, including sections of flooring or drywall, may be useful evidence during the claim process. A contractor can also help identify what is likely salvageable and what needs to be removed.
The Water Mitigation Cleanup Guide: Remove Water Fast
Water mitigation means limiting further damage. It is different from a cosmetic repair. A room may look dry on the surface while moisture remains under floorboards, behind baseboards, inside wall cavities, or beneath cabinetry.
For a small clean-water spill caught quickly, homeowners may be able to begin with towels, a wet/dry vacuum, fans, and dehumidifiers. Move rugs, boxes, and lightweight furniture away from wet areas. Lift drapes off the floor and place aluminum foil or plastic blocks under furniture legs when possible to reduce staining and transfer of moisture.
Large losses need more than household fans. Professional extraction equipment removes water far more effectively from carpet padding, wood flooring, concrete, and other building materials. Industrial air movers and dehumidifiers are then positioned to create controlled drying conditions. The goal is to dry the material itself, not simply circulate damp air around the room.
Time is the deciding factor. Water left in place can soak into wood framing, loosen flooring adhesives, swell cabinets, stain ceilings, and create conditions for mold growth. Fast extraction often makes the difference between drying a floor in place and having to remove it.
Check Where Water Travels, Not Just Where It Pooled
Water follows gravity, but it also travels sideways through seams and hidden openings. A leak in a second-floor bathroom can affect the ceiling below, insulation between floors, light fixtures, baseboards, and adjacent rooms. A basement flood can wick upward into drywall and insulation even after visible water has been pumped out.
A proper inspection should look beyond the obvious. Moisture meters, thermal imaging, and visual checks around trim, walls, flooring transitions, and cabinets help identify trapped moisture. Depending on the source and how long the water sat, affected drywall, insulation, carpet padding, or engineered flooring may need removal to allow the structure to dry correctly.
There is a trade-off here. Removing materials too aggressively can add unnecessary cost, while leaving wet materials in place can create a more expensive problem later. The right decision depends on the water category, the material involved, the duration of exposure, and moisture readings during the drying process.
Protect Floors, Walls, and Cabinets
Hardwood flooring deserves quick attention because it can cup, buckle, separate, or permanently stain after water exposure. Do not assume it needs replacement right away. Some solid wood floors can be dried and refinished if water was clean, the exposure was brief, and drying starts promptly. Engineered wood often has less tolerance because its layered construction can delaminate.
Laminate flooring is usually less forgiving. Water can penetrate joints and swell the core, making replacement more likely. Tile may appear untouched, but moisture can still get beneath loose grout, failed caulk, or damaged underlayment. Vinyl floors can trap moisture underneath, especially if water entered from an edge or through a seam.
Drywall and baseboards can also hide the true extent of a loss. If the lower portion of a wall is wet, moisture may have traveled behind the baseboard and into insulation. In a clean-water situation caught early, controlled drying may be enough. With contaminated water or prolonged saturation, removal is often the safer approach.
Kitchen and bathroom cabinets require a close inspection around toe kicks, side panels, and wall connections. Particleboard and MDF components swell quickly and rarely return to their original condition. Solid wood cabinetry may be more recoverable, but it still needs measured drying to prevent warping and finish damage.
Do Not Create a Bigger Problem During Drying
Many homeowners make the right decision to act fast, then accidentally make drying harder. Turning the heat all the way up can raise evaporation but may also increase humidity inside the home if moisture is not being removed. Opening windows can help in certain dry conditions, but on humid days it may bring more moisture inside.
Bleach is not a universal answer for water damage or mold. It can discolor surfaces, create fumes, and does not solve moisture trapped behind walls or below flooring. The real fix is identifying and removing the source of moisture, drying materials to an acceptable level, and replacing materials that cannot be safely restored.
Be careful with personal belongings as well. Electronics, photographs, documents, antiques, and upholstered furniture may need specialized handling. Do not plug in wet electronics. For documents and photos, separate pages gently if possible and allow air circulation rather than stacking them in a damp pile.
Know When to Call a Water Mitigation Professional
A professional response is strongly recommended when water affects more than a small contained area, has reached walls or floors, involves sewage or floodwater, or has been present for more than a few hours. Call for help if you see ceiling sagging, flooring movement, persistent odors, visible mold, or water near electrical systems.
It also makes sense to bring in a contractor when the mitigation work will lead directly into repairs. After the area is dry, damaged drywall, insulation, trim, flooring, cabinetry, tile, and paint may need to be restored. Working with one accountable team can reduce the handoff problems that often happen when emergency cleanup and reconstruction are treated as separate jobs.
For Staten Island homeowners, that continuity matters. Older homes, finished basements, multi-level layouts, and closely packed plumbing runs can make water damage more complicated than it first appears. Clean Sweep Contracting can assess the affected areas, coordinate the necessary repairs, and restore the space with the same attention to detail expected in a renovation project.
Before the Repair Work Starts
Do not rush into closing walls or installing new finishes because the room looks dry. Ask how moisture levels were checked, what materials were removed, and whether the underlying framing and subfloor were inspected. A clean, dry, stable surface is the foundation for durable repair work.
Once mitigation is complete, reconstruction can be planned around the home’s needs. That may mean replacing a section of drywall and baseboard, rebuilding a damaged bathroom, installing new flooring, or using the opportunity to improve an outdated basement. The best next step is the one that fixes the damage completely while making the finished space work better for your family.