

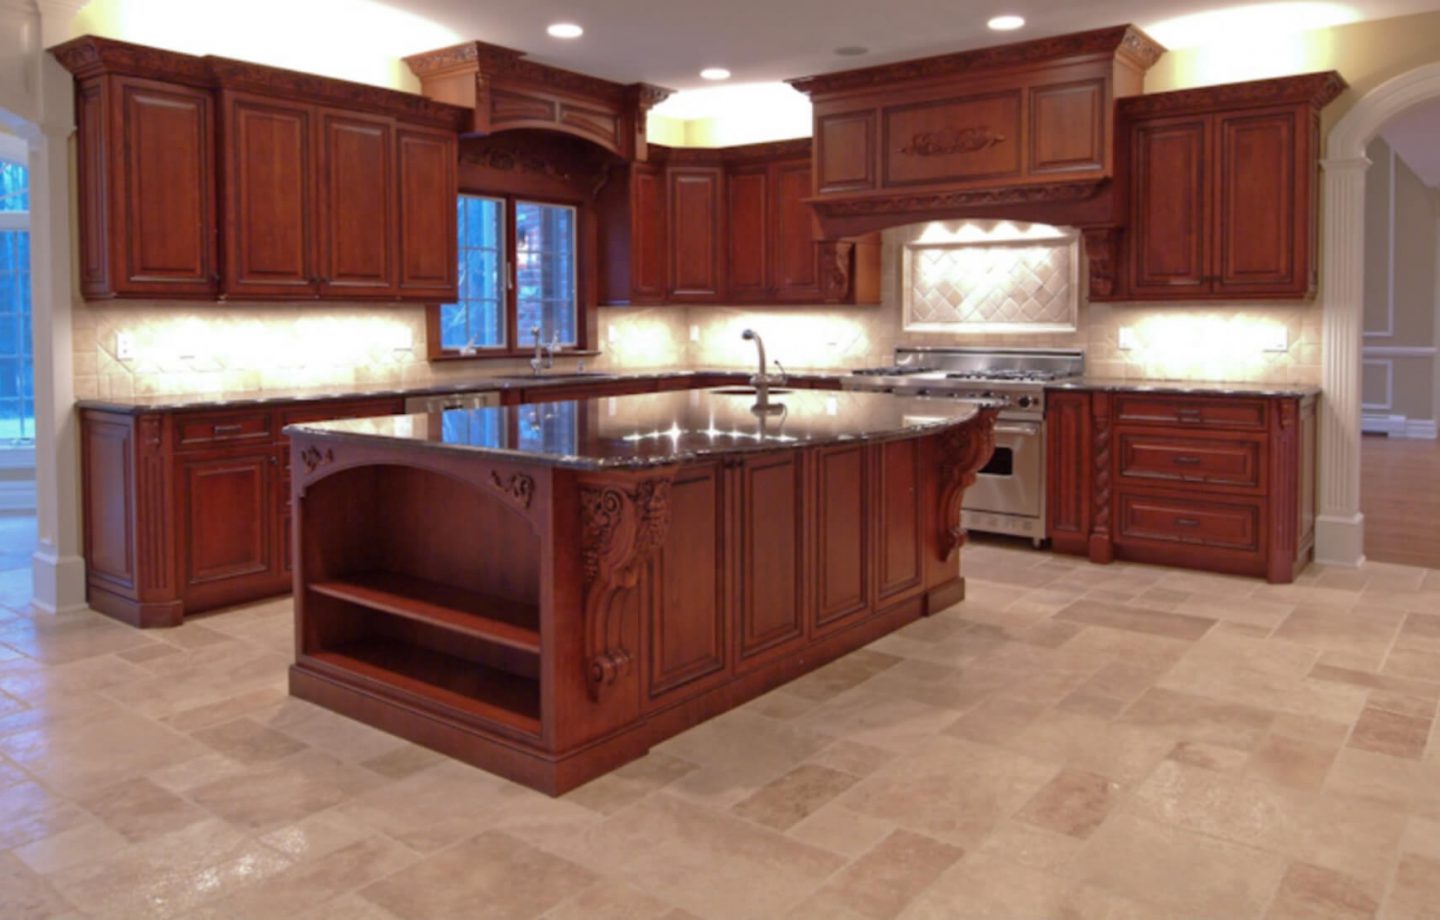


A room can have new floors, fresh paint, and expensive fixtures, then still feel unfinished. Usually, the missing piece is not another decorative item. It is the finish work: the baseboards that meet cleanly at a corner, the door casing with the right proportions, the crown molding that gives a ceiling purpose, and the built-in that looks like it belonged there from day one. This finish carpentry design guide helps homeowners make those decisions before materials are ordered and walls are painted.
Finish carpentry is where a renovation becomes personal. It frames the openings you walk through every day, creates storage where a home needs it most, and gives separate rooms a shared visual language. The work is visible, so small shortcuts show. A crooked reveal, mismatched profiles, oversized trim in a low-ceiling room, or a cabinet filler that looks like an afterthought can pull attention away from an otherwise beautiful project.
Start With the Home, Not a Catalog
The best trim package is not automatically the most ornate one. It should fit the architecture, ceiling height, room size, and the way your family uses the home. A simple colonial home may look right with traditional stepped casing and crown molding. A more contemporary renovation may call for flat stock, square edges, and fewer decorative layers. In many Staten Island homes, the strongest result is a clean, classic profile that respects the home’s existing character without making it feel dated.
Before choosing a molding profile, look at what must work together: doors, windows, baseboards, crown, flooring transitions, stair railings, cabinetry, and built-ins. These are not isolated choices. A tall, formal door casing next to a thin baseboard can look unbalanced. Dark-stained doors beside bright white painted millwork can work, but the contrast should be repeated elsewhere so it feels intentional.
A good starting point is to decide whether the home should feel traditional, transitional, or modern. Transitional design is often the safest choice for renovations because it combines clean lines with enough detail to feel finished. It also tends to hold up well when a homeowner updates furniture or paint colors later.
Plan Finish Carpentry Before Closing the Walls
Finish carpentry design works best when it starts during planning, not during the final week of construction. Built-ins may require added blocking inside walls. Pocket doors need the correct framing and clearances. A heavy floating shelf needs real support, not just drywall anchors. Wall paneling, wainscoting, and oversized baseboards can affect outlet locations and HVAC registers.
This is one reason a contractor who can manage framing, electrical coordination, drywall, painting, flooring, and finish work under one roof is valuable. The details are connected. If the rough work is planned with the finish details in mind, the finished room needs fewer compromises.
Door selection is a perfect example. The swing direction, jamb depth, casing width, hardware placement, and flooring height all need to be considered before installation. If new wood flooring raises the finished floor, an existing door may need to be trimmed. If a bathroom tile floor sits higher than the hallway floor, the transition and door clearance should be resolved before the casing goes on.
Set a Consistent Trim Hierarchy
A trim hierarchy gives the house order. Larger or more formal rooms can receive a stronger profile, but the overall family of trim should remain consistent. In most homes, that means using one primary door and window casing style, one baseboard profile, and one crown or ceiling treatment that repeats where appropriate.
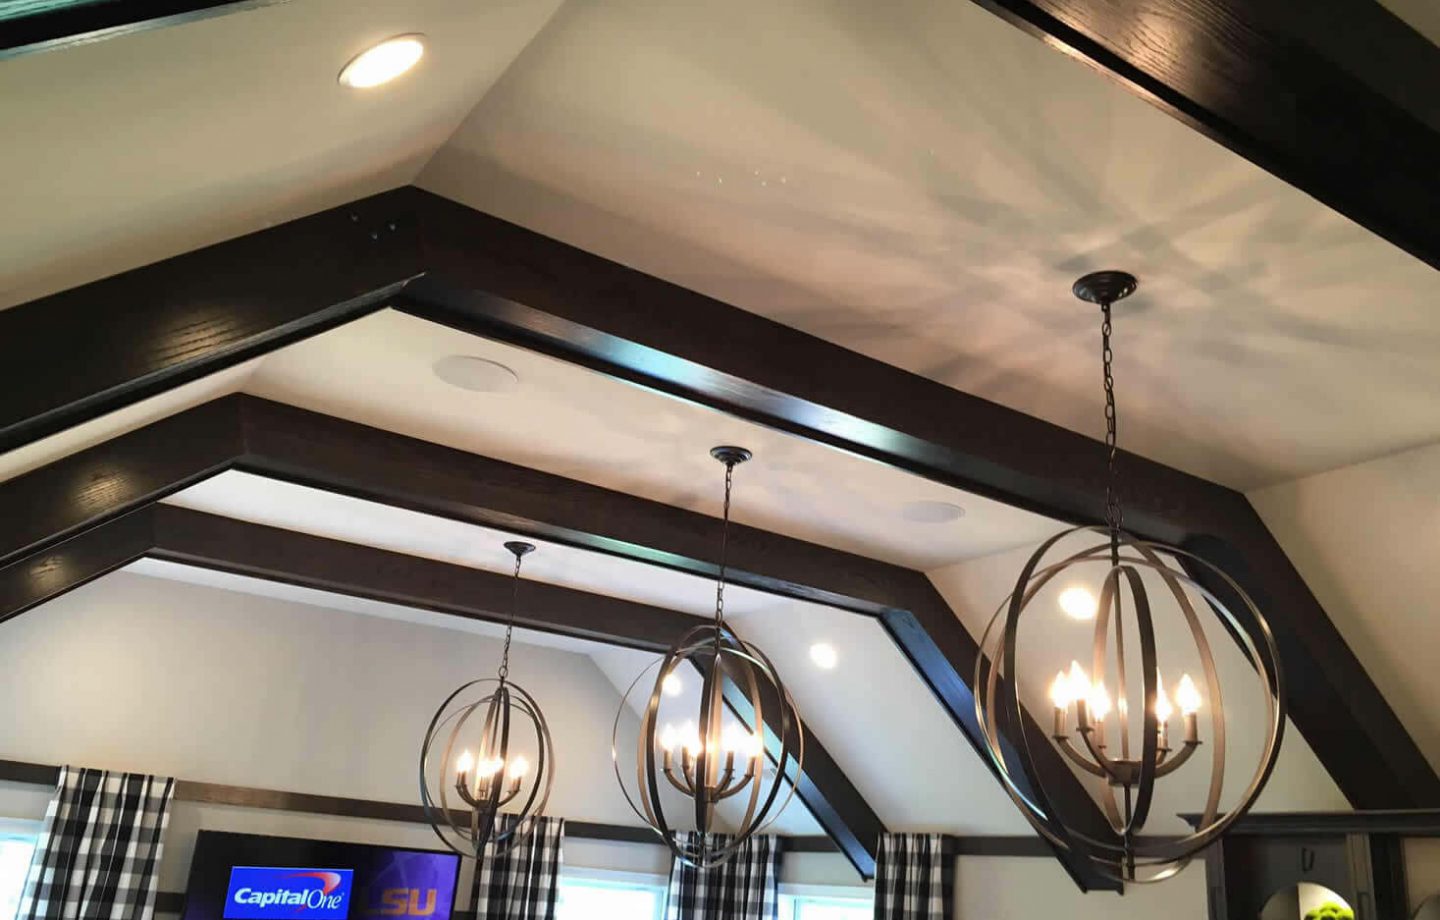
Scale matters more than homeowners often expect. Eight-foot ceilings generally need more restraint than ten-foot ceilings. A very tall baseboard can be handsome, but in a compact bedroom it may crowd the walls. Likewise, crown molding needs enough room to read. Installing a large crown in a low-ceiling space can make the ceiling feel lower rather than more refined.
For a clean and flexible look, many homeowners choose squared or lightly detailed casing, a substantial baseboard, and simple crown molding in main living areas. Bedrooms may use the same base and casing without crown. That saves budget while keeping the design connected.
Make Doors and Openings Feel Intentional
Doors are working parts of the house, but they are also major design elements. Replacing a hollow, damaged slab door with a solid-core or well-built shaker door can improve both appearance and sound control. For bedrooms, bathrooms, and home offices, that quieter close is often worth the additional cost.
The casing around the door deserves just as much attention as the door itself. Traditional mitered corners are common and clean when cut precisely. More detailed homes may use plinth blocks at the bottom of casing or a header treatment at the top. Neither is required. The goal is proportion and craftsmanship, not adding detail for its own sake.
Openings without doors need a plan too. A wide cased opening between a kitchen and dining room can create definition without closing off light. A squared opening with no trim may suit a modern layout, but drywall corners must be especially straight and durable. When the opening is meant to be a feature, a cased opening or shallow arch can make the transition feel more deliberate.
Use Built-Ins to Solve Real Problems
Custom built-ins should earn their footprint. The best ones solve a storage, organization, or layout problem while strengthening the room’s design. A window seat can hold seasonal items. A media wall can conceal wires and provide closed storage. An entry bench can give coats, shoes, and bags a designated home instead of letting them take over the hallway.
The first decision is whether the built-in should blend in or stand out. Painted built-ins that match the wall trim usually feel architectural and calm. A contrasting color can turn them into a focal point. Natural wood may add warmth, though it needs to relate to flooring, cabinetry, or furniture to avoid looking separate from the room.
Function should guide dimensions. Shelves for books need more depth than shelves for framed photos. Lower cabinets need room for doors or drawers to open. A television wall needs ventilation and access for future equipment changes. If a built-in includes lighting, plan wiring before the walls are finished. These are practical details, but they are what make custom work useful years later.
Choose Paint, Stain, and Sheen for Daily Life
Painted trim remains a dependable choice because it is bright, adaptable, and easy to coordinate with changing decor. White is popular, but it is not one universal color. A cool white can look sharp beside gray finishes, while a warmer white may better suit cream tile, oak flooring, or traditional stone.
For most homes, matching trim, doors, and built-ins in one paint color creates a cohesive result. Walls can be a related neutral or a deeper contrast. Using the same color in different sheens is another subtle option: a softer sheen on walls and a more durable satin or semi-gloss sheen on trim.
Stained wood requires more planning. Wood species, grain direction, filler, and stain absorption affect the final color. A small sample is not enough when the project includes several doors or a large built-in. Review a finished sample using the exact wood, stain, topcoat, and lighting conditions whenever possible.
Do Not Let Transitions Become an Afterthought
The places where materials meet reveal the quality of a renovation. This includes flooring at doorways, baseboards against uneven walls, tile edges, stair trim, cabinet end panels, and returns where molding ends. A well-designed room accounts for these transitions before installation begins.
Older homes are rarely perfectly square or level. Good finish carpentry does not pretend otherwise. It uses scribing, shimming, careful layout, and thoughtful cuts to make the finished lines appear straight and balanced. That takes time, and it is one area where rushing to save a few dollars often creates visible regret.
At Clean Sweep Contracting, finish work is approached as part of the whole renovation, not a final add-on. Whether the project is a single room or a full interior remodel, the goal is the same: details that look right, work properly, and stay that way.
When you plan trim, doors, and built-ins early, you give the project a clearer direction and the crew a better standard to build toward. The result is not just a nicer-looking room. It is a home that feels considered every time you walk through it.