



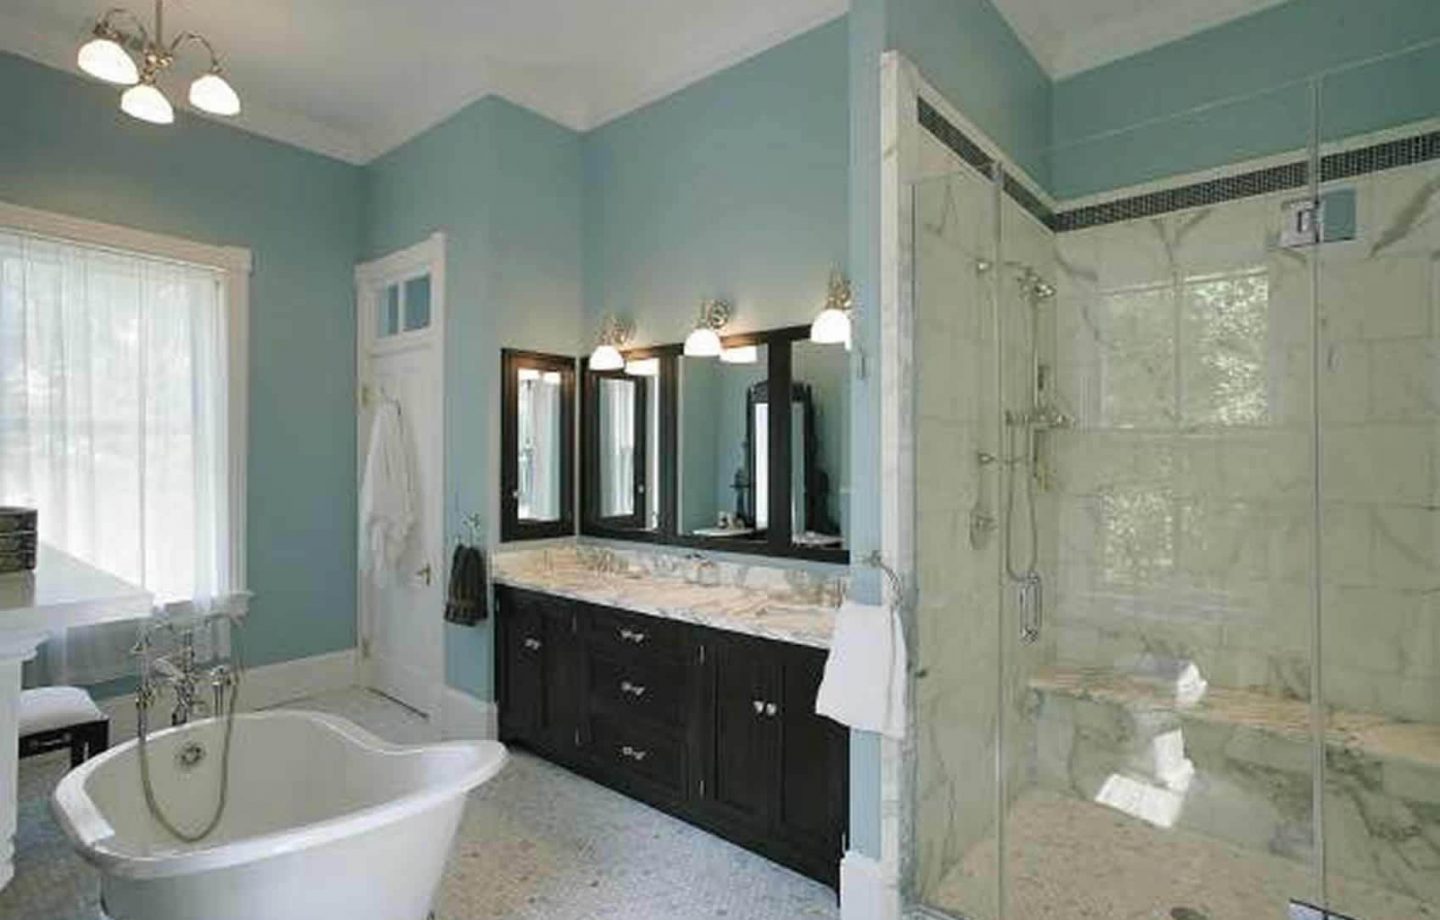


A beautiful tile floor or shower wall can make a bathroom feel brand new. But the part homeowners do not see is what determines whether that finish still looks right years later. This bathroom tile installation guide covers the work behind a durable result: a sound substrate, a deliberate layout, correct waterproofing, and clean finishing details.
Start With the Room, Not the Tile
Tile selection matters, but it should not be the first decision. Before choosing a pattern or color, inspect the bathroom’s structure and condition. A soft subfloor, active plumbing leak, out-of-level floor, or damaged wallboard needs attention before any tile work begins. Tile is a rigid finish. It will not hide movement beneath it, and it will not solve moisture problems behind it.
This is especially true in older homes, where previous renovations may have left uneven framing, several layers of flooring, or walls that are not square. Those conditions are manageable, but they affect the preparation, material choices, and layout. Installing new tile directly over a problem area may save time on day one and create cracked grout, loose tile, or water damage later.
A contractor should also confirm the scope before demolition begins. Is the project a floor replacement, a tub surround, a full shower rebuild, or a complete bathroom renovation? A shower installation often involves plumbing adjustments, waterproofing, cement board or another approved substrate, and proper drain details. It is not simply a wall-tile job.
Plan the Layout Before Mixing Mortar
Good tile installation looks intentional. That starts with dry-fitting and measuring the room before adhesive is applied. The goal is to avoid narrow slivers of tile at a focal wall, doorway, or shower edge whenever possible. A balanced layout may require shifting the starting line slightly, but the finished room will look cleaner for it.
For a floor, installers usually establish reference lines from the room’s most visible area rather than blindly following an out-of-square wall. For shower walls, the layout should account for the tub deck or shower pan, niches, valves, corners, and the height of the tile. A level ledger board can keep the first visible courses straight while the bottom row is cut to fit the actual floor or pan.
Pattern and tile size change the amount of planning required. Large-format tile can create a clean, modern appearance with fewer grout joints, but it demands flatter walls and floors. Small mosaic tile is useful on shower floors because it follows the slope to the drain more easily, though it has more grout to maintain. Natural stone brings character, but it may require sealing and more careful product selection than porcelain.
Consider Function Along With Appearance
Bathroom flooring should be chosen for real daily use. A highly polished tile can be attractive, but it may be slippery when wet. Textured porcelain or a tile with a suitable slip rating is often a better fit for family bathrooms, aging-in-place projects, and busy homes. Grout color also involves a trade-off: light grout can brighten a space, while mid-tone or darker grout may be more forgiving around a shower floor or high-traffic entry.
Build a Flat, Stable Surface
Tile needs a properly prepared base. On floors, that may mean repairing or reinforcing the subfloor, installing an appropriate underlayment, or using an uncoupling membrane when the assembly calls for it. On walls, the surface must be plumb, flat, and suitable for the wet or dry area where it will be installed.
Flatness is not the same as level. A bathroom floor can be slightly out of level and still accept tile if it is flat enough for the chosen tile size. In a shower, however, the floor must slope correctly toward the drain. Water should not sit in corners or along the wall. This is one reason shower work requires more than a careful eye – the pitch, drain connection, and waterproofing system all need to work together.
Thinset mortar is designed to bond tile, not to fix major dips, humps, or poor framing. Trying to compensate for an uneven surface with excessive mortar can leave unsupported tile, poor coverage, and lippage, where adjacent tile edges are not even. Surface preparation may not be the glamorous part of the project, but it is where long-lasting work is won or lost.
Waterproofing Is the Critical Shower Detail
A tiled shower is not waterproof because tile and grout are present. Tile, grout, and many natural stone products can allow moisture through over time. The waterproof layer behind or beneath the tile is what protects the framing and surrounding areas.
The exact system can vary, but the principle does not: the waterproofing must be continuous and properly tied into the shower pan, drain, corners, seams, and penetrations. Every pipe opening, niche, bench, and transition deserves attention. These are the places where shortcuts often show up later as staining, loose tile, mold, or damage in the room below.
For a tub surround, waterproofing requirements depend on the assembly and products used, but standard drywall is not a dependable choice in a wet shower area. A qualified installer should use compatible backer materials, membranes, fasteners, sealants, and setting materials according to the system requirements. Mixing products without understanding how they work together is not a plan.
Do Not Skip a Flood Test
For a custom shower pan, a flood test is a practical checkpoint before tile goes on. The drain is plugged, the pan is filled to the required level, and it is checked for water loss over the appropriate test period. Finding a problem before tile is installed is inconvenient. Finding it after the bathroom is finished is far more expensive.
Set Tile With Coverage, Spacing, and Movement in Mind
Once the substrate is ready and the layout is established, tile can be set with the right mortar and trowel for the material and location. Larger tile often requires methods that improve coverage, including applying mortar to the back of the tile when needed. The goal is solid support, especially on floors and shower walls, not hollow areas hidden behind a finished face.
Spacers and leveling systems can help maintain consistent joints and reduce lippage, but they do not replace proper preparation. Every piece still needs to be checked as the work progresses. Cuts around shower valves, outlets, niches, and edges should be neat and planned so the trim pieces or escutcheons cover them properly.
Movement joints also matter. Tile expands and contracts, even in a relatively small bathroom. Changes of plane, such as wall-to-wall and wall-to-floor corners, are generally treated with a flexible sealant rather than hard grout. Perimeter gaps and other movement accommodations help prevent pressure from transferring into the tile field.
Grout and Finish Work Make the Difference
Grouting is not just filling the joints. The right grout type depends on joint width, tile material, and maintenance expectations. Cement-based grout remains common, while high-performance and epoxy options can offer stronger stain resistance in certain applications. The best choice depends on the room and the homeowner’s priorities, not simply on what is available at the store.
After grout has cured as directed, changes of plane and fixture transitions should receive the proper flexible sealant. Caulk lines should be smooth, consistent, and clean. The same standard applies to tile trims, thresholds, shower niches, and transitions to flooring outside the bathroom. These details are small, but they are often the first things a homeowner notices.
Before the room is turned over, the work area should be cleaned thoroughly and inspected under good lighting. Check for grout haze, chipped edges, uneven cuts, missed sealant, and tiles that sound hollow. A professional installation should look finished from every angle, not only from the doorway.
Know When a Tile Project Needs a Full Remodeling Scope
Replacing a bathroom floor can be a straightforward improvement if the subfloor is sound and the fixtures remain in place. A shower renovation is different. If there are signs of water damage, outdated plumbing, poor ventilation, or a failing pan, addressing only the visible tile may leave the real problem untouched.
For Staten Island homeowners planning a larger bathroom renovation, one accountable contractor can coordinate demolition, framing, plumbing access, waterproofing, tile, trim, and cleanup as one connected project. Clean Sweep Contracting approaches tile work with that larger picture in mind, because a polished finish should be supported by solid work behind the walls.
The best bathroom tile installation is not the one completed fastest. It is the one built on a dry, stable base, laid out with care, and finished cleanly enough that you can enjoy the room without wondering what is happening underneath it.